Section 2.2 Your First PreTeXt Document
At this point, you should have a PreTeXt project set up as a
github.com repository with a github.dev Codespace. You can use the Code menu on the repository webpage to pull up the Codespace environment in your web browser if you haven’t already.
When you first created your repository from the template, there were very few files included. The first thing you will do when you open your Codespace is to create a new PreTeXt project. As the directions in the repository indicate, you can do this by selecting the “PreTeXt: New Project” command from the command pallette (which you can open with CTRL+SHIFT+P, among other options).
You should be presented with a dialog asking for what sort of project you would like to create (
article, book, course, slideshow, etc.). For purposes of this tutorial, you should select article or book. You will then be asked where you would like to create the project, and selecting the default suggested location is fine.
The window should now refresh and you will see a bunch of new files, including a folder called
source that contains your main.ptx file. Now you are ready to build it!
Subsection 2.2.1 Building for web
You can build your entire project in a few different ways.
-
Click the “PreTeXt” button in the center left of the bottom toolbar of the VS Code window (see Figure 2.2.1). A dialog will pop up asking which PreTeXt command you want to run. Select
Build default target, or chooseBuild another target...to get a menu of options to select a target to build (chooseweb). -
You can use the keyboard shortcut CTRL+ALT+p (replacing CTRL with CMD if you have a Mac) to get the same dialogs. Or to build in one step, use CTRL+ALT+b.
-
Select a PreTeXt command from the VS Code command palette, which you can access by clicking the icon in the bottom left of the VS Code window. You can also access this by typing CTRL+SHIFT+p (again, replacing CTRL with CMD if you have a Mac). Start typing “pretext” to get a list of commands available.
-
If you are comfortable entering commands in a terminal/command prompt, you can access one in your Codespace using CTRL+`. Then you can run
pretext build webto build your project.
The resulting HTML files will be available in the
output/web directory of your project. However, to view it, you should NOT navigate there and open the files. Instead, read on.
Screenshot of VS Code PreTeXt button in Codespaces
Subsection 2.2.2 Viewing
You can preview these HTML files you just built using the View command. Again, you can access this in multiple ways: PreTeXt button in the toolbar, CTRL+ALT+p, etc. Select
View from the dialog. You may be given options on how to view the document, depending on what VS Code plugins you have available to you. Try one or another until you’re able to view your web build in either a new tab of your browser or a tab within VS Code.
The VS Code Live Preview is a good option, but it is buggy when used inside Codespaces. It seems to help to use the VS Code command palette to run
Live Preview: Show Preview (External Browser), then close the tab that opens, and start the process over. You may need to do this a few times before it works.
Now is a great time to try to make edits to your source files (maybe change the title). Note that these changes aren’t updated live in your preview: you will need to build again, and then refresh the preview window to see them. Note, you do not need to run the
View command again unless you stop the preview server.
Subsection 2.2.3 Building for print
To produce a PDF from your PreTeXt source, repeat the above instructions with the
print target. If you use the PreTeXt button in the toolbar, select Build another target... and then print. Alternatively, you can enter pretext build print in a terminal. The resulting PDF will land in output/print/main.pdf, and can be downloaded by right-clicking in the VS Code file explorer, or previewed using a View command.
If you would like to see the intermediate LaTeX source files, you can add a new target to the project manifest (
project.ptx) with a @format of latex. See Subsection 5.2.7.
Subsection 2.2.4 Saving your work
Using Codespaces will keep all your files “in the cloud”, saved automatically as you edit. As long as your Codespace is active, your files will be saved there for your private use. However, inactive Codespaces are periodically cleaned up by GitHub (as of writing, this happens after one month of inactivity), so you’ll need to periodically commit & sync your work to your repository where it will never be deleted.
Recall that your Codespace lives at
github.dev, while your repository has a github.com address like https://github.com/username/reponame). This repository serves as a backup of your work in the Codespace, and has the added benefit of allowing collaborators to access your files as well. As a bonus, if you made your repository public, members of the PreTeXt community who watch the PreTeXt-support Google group can create their own Codespace based on your public repository and easily answer any questions you have.
While Git and GitHub have a lot of features, there’s a very simple way to use them via Codespaces. As you edit files, you’ll notice that their filenames will turn orange, and new files will appear green. Likewise, a blue number will appear in the left sidebar.
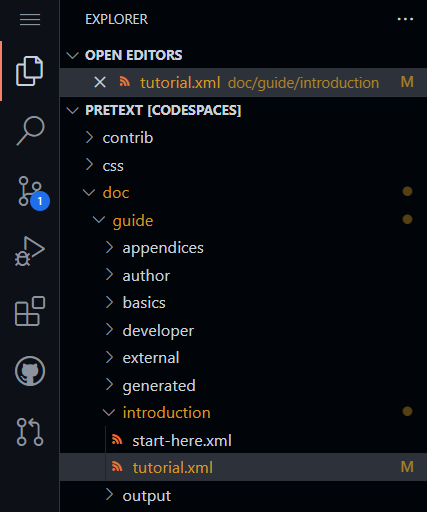
This blue badge is next to the Source Control view. You will notice a list of files that were changed; you can click on any of these to see what the changes are.
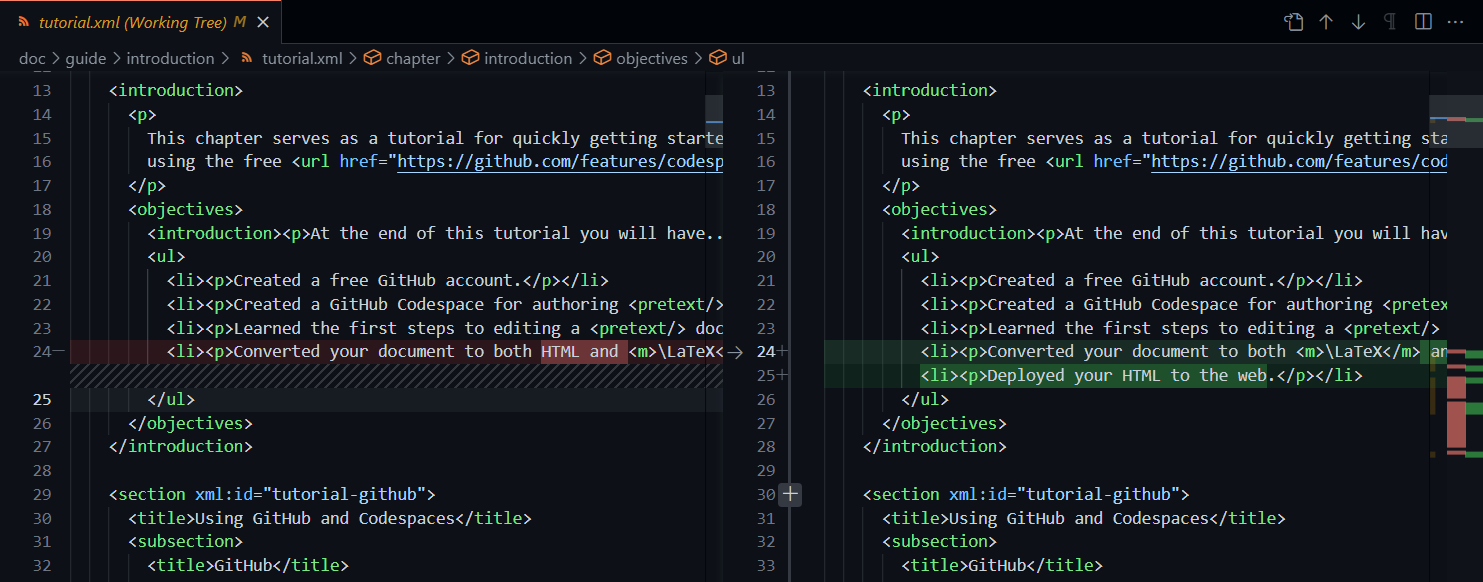
Screenshot of VS Code Git diff in Codespaces
Type a message describing the changes you’ve made then click the green “Commit and Sync” button. If it just says “Commit”, use the drop-down menu to choose “Commit and Sync”. (If you forget to type a message describing the changes you’ve made, then a new tab will open: “COMMIT_EDITMSG” where you can type the message. When you are done, close the tab.)

Screenshot of VS Code source control in Codespaces
To see that this is successful, return to your
github.com repository webpage. You should see your files with all your committed/synced changes. (That is, most of them: many files, such as log files and temporary build files that appear in gray within your Codespace, will not be synced. This is no problem: they are created during a build automatically and don’t need to be, and really shouldn’t be, saved or shared with others.)
Subsection 2.2.5 Generating assets
If your document contains certain elements, you might need to generate their assets for use in certain output formats. Depending on your build target, these include:
-
<latex-image> -
<sagemath> -
<asymptote> -
<youtube> -
<webwork> -
<codelens>
Starting in CLI version 1.7, these assets will be automatically generated whenever you build your output. If you change the source of these assets, they will be regenerated when you build.
Regardless of which version of the CLI you are using, you can generate assets as a separate step in much the same way you run a build. You will see a
Generate option in the PreTeXt command dialog, just below Build. Select your target and wait for the process to complete, then Build once more to incorporate your generated assets.
Subsection 2.2.6 Deploy
So you have worked tirelessly to prepare course notes or a book, built and previewed, synced changes to your git repository, and now you are ready to share the results of your efforts with the world. It’s time to deploy your project!
From the “PreTeXt Commands” dialog, select “Deploy”. This will automatically take the most recent build of your web target and host it through GitHub Pages. Watch the output pane for a link to your published site; unlike the preview link you’ve been using on
github.dev which is private to only you, this github.io link is ready to share with the world. (It can take a few minutes for the site to get set up or updated; there should be another link to view the progress of the GitHub “action” that reports the progress.)
By default, doing a deploy will just publish your
web target. It is also possible to deploy multiple targets along with a “landing” page directing a visitor of your site to the different versions of your project. See Section 5.2 for more information.
Subsection 2.2.7 Using this guide and advanced features
The rest of this guide will help you on your way. However, keep in mind that this guide is the work of many volunteers over many years, and certain sections may assume the reader is using mechanisms for writing PreTeXt that have been around for much longer than the Codespaces environment recommended for this tutorial.
In particular, there are two advanced mechanisms used by many PreTeXt authors: the PreTeXt developer script Chapter 47 (i.e. the
pretext/pretext script) and the PreTeXt CLI Section 5.2.
Under the hood, the PreTeXt CLI is what you’re using in Codespaces, and it also has the ability to call the PreTeXt developer script as well. If you ever want to use a PreTeXt CLI command, you can open a Terminal in your Codespace using the menus, or by pressing Ctrl+` (the backtick key, found in upper left of many keyboards).
From the terminal, you can type in any PreTeXt CLI commands directly. For example, typing in the CLI command
pretext build web and running it by pressing Enter builds the web target.
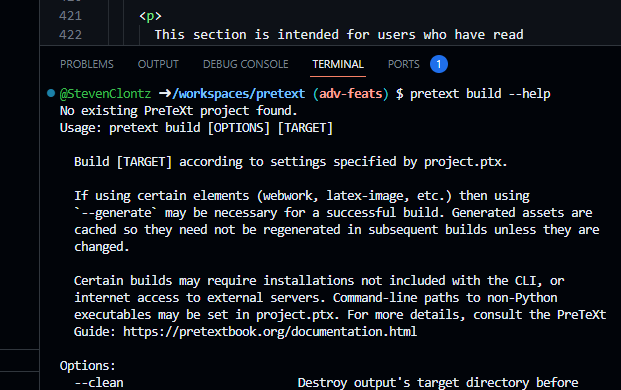
Screenshot of using the PreTeXt CLI within Codespaces
The CLI should be sufficient to do nearly everything you want to do for your project, and using the developer script should be exercised with caution. Nonetheless, to access a
pretext/pretext developer script feature, you can use pretext devscript. For example, if the documentation suggests a command like pretext/pretext -foo bar, you could try running pretext devscript -foo bar.
